13 KiB
Sewers Paint and Construction Guide
Sulice Tiles
Supplies
- Paint brush used for any detail painting or basecoat
- Crappy paint brush used for dry brushing
- Paint (Americana colors listed, bought from Michaels)
- Clear nail polish or Woodland Scenics Water Effects
Painting
Start off by painting all the tiles black. You want to do this, even if you printed in black, because the plastic is shiny. By painting black, especially focusing on the cracks, it will help the shadows look substantially better.


Next you will want to paint the pavers in the sluice with zinc. Wipe your brush off on some paper towel so that it is not completely soaking in paint. You want to get the tiles, but not in between the cracks (which we will leave black). Also, don’t bother with the highest rows of pavers, as those will get painted over when we get to the moss/algae steps. Also, be sure to paint the sides zinc (which I forgot to do until later).


Next, you will take your drybrush and get the bittersweet chocolate paint. Get the brush fairly saturated with the bittersweet chocolate and then wipe most of it off on a paper towel. Cover over the grey areas, but try to leave plenty of grey showing through.


Now we are going to do the same thing with the milk chocolate.


With the honey brown, you are going to want to get it to the point that you can barely see any paint coming off the brush on the paper towel. As you drybrush this on to the model, it’s best to sweep from the center tiles up and out, trying to just leave a little of the lighter color on the tips of the edges.


We are complete with the pavers in the sluice. Now we will start working on the algae/moss areas. Paint the dark green on the top layer of sluice tiles, and the floor bricks. Be sure to get the sides of the floor bricks as best you can. It’s ok to slop over the lines a bit on this. Algae doesn’t grow in straight lines, so having a little on the tops of the next tile down is ok.


Go back to your dry brush for this color, being certain to wipe off most of the paint on a paper towel before you swish over the green parts of the tile. Once again, it’s ok to paint outside the lines here.


If there’s one color on the moss to not skip, it’s this one. The avacado has more yellow in it then the other greens, and the contrast really helps make the illusion work. Use the same process on this color as you did for the Hauser Medium Green.


As you did with the honey brown, you really want to wipe off most of the paint on the brush for
this one. Use sweeping motions across edges to get highlights.


Now to add in some “water”. Cover the center pavers with clear nail polish. Ensure it gets into all the cracks around those tiles. It’s also ok to splash a bit here and there. Note: If I was writing this guide today, I would instead recommend Woodland Scenics Water Effects.


Barred Tiles
Supplies
- Paint brush used for any detail painting or basecoat
- Crappy paint brush used for dry brushing
- One of
- Another crappy paint brush and Acetone used for acetone abs welding
- Cyanoacrylate glue (super glue) such as Gorilla Super Glue Gel
- Paint (Americana colors listed, bought from Michaels)
- Paint (FolkArt colors, bought from Michaels)
- Orange (or Bright Orange from Americana
- Honeycomb
- Clear nail polish or Woodland Scenics Water Effects
- Pin Vice (Optional)
Parts
- Wall tiles with bar holes (1x1 or 1x2)
- Sluice tile with bar holes
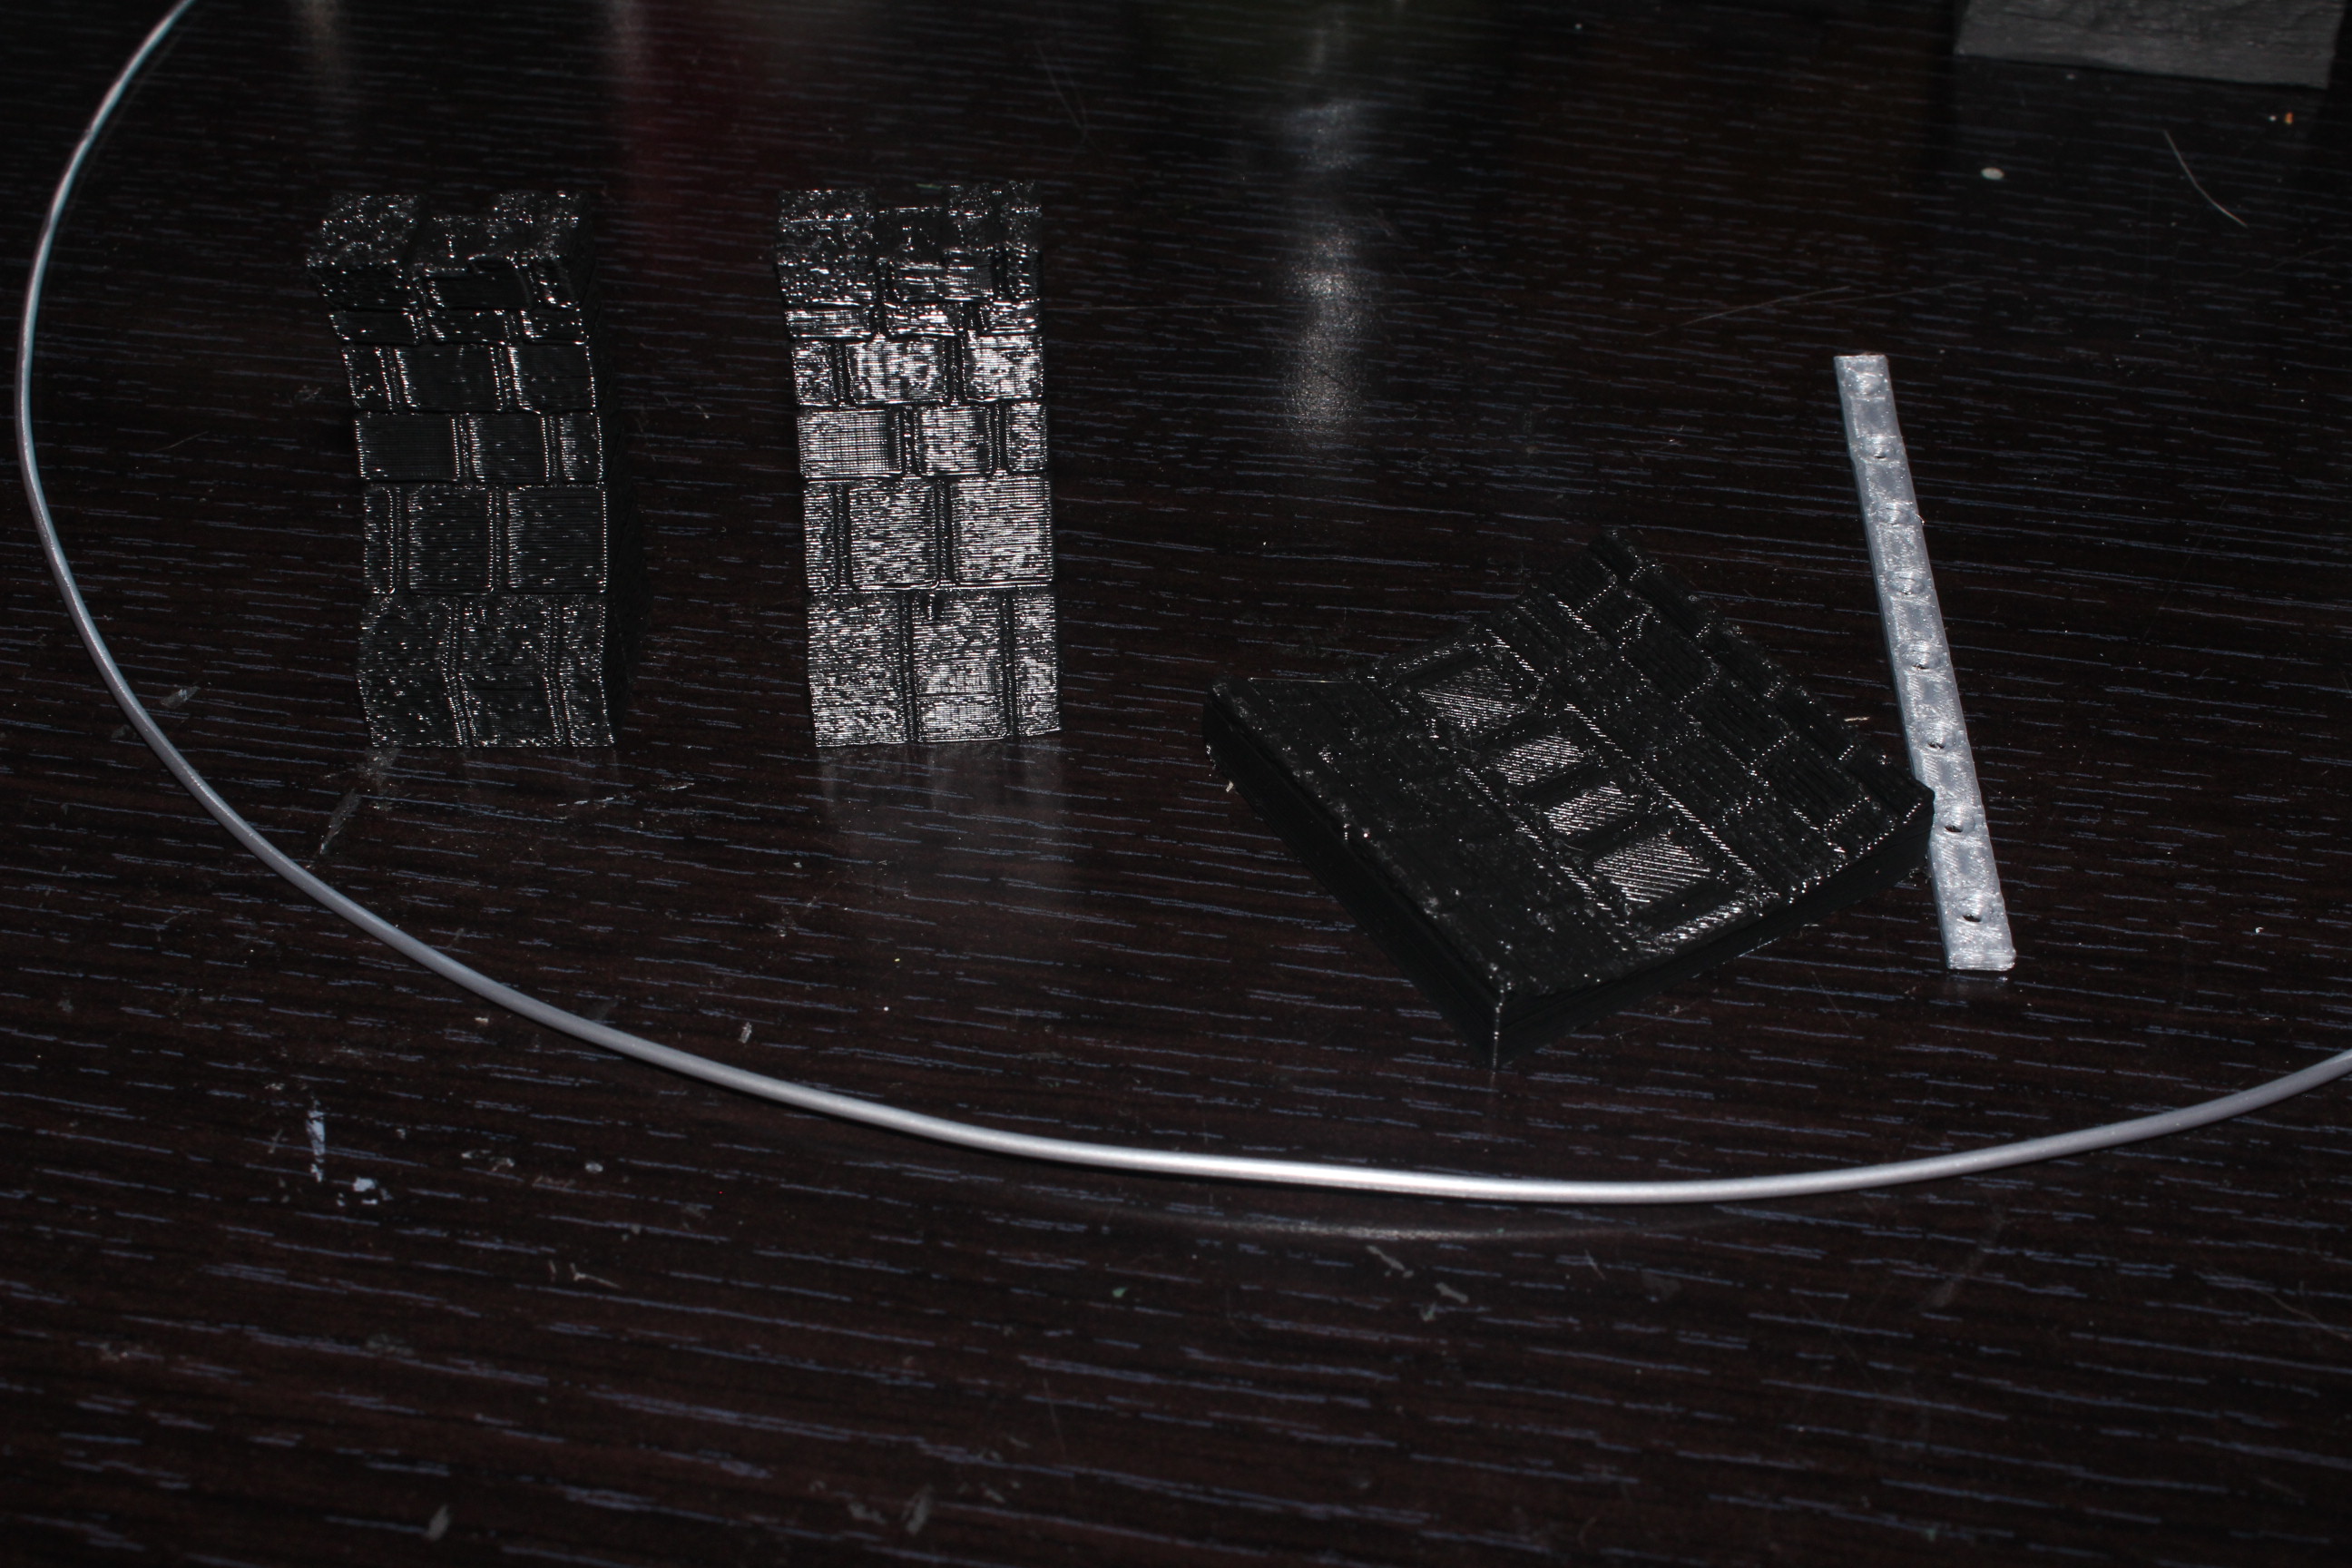
- Bar top (4x for 2 wall tiles and a sluice. Print increased lengths as needed based on other tiles used)
- About a half yard of silver pla 1.75
- Floor tile(s) with bar holes (optional)

Assembly and Painting
This set requires assembly ahead of time. I’ve shown most of the painting steps for both of:
- You have assembled everything ahead of time
- You wait to the end to do the bars (requires less rework)
Use glue or paint on acetone and then attach tiles so that holes for bars line up. If painting on acetone, use more than you think you need. You want enough that it can really create a sold weld.


Paint tile black. Especially focus on the cracks, as this is intended to make those matte so that the shadows are not reflective, which damages the effect. This may take multiple coats. If you have bars in place already, paint them up to the waterline (3rd stones up from bottom) and down a bit from the top.

I used a piece of 1.75 filament in the holes to prevent paint from getting in them.

Brush all of the stone surfaces with zinc. Before painting, wipe off most of the paint. You don’t want the zinc getting in any cracks.

This color is going a few places. As before, wipe off most of the paint.
- In the trough of the sluice. Paint up to 2 stones away from the upper edges, don’t make the edges smooth.
- On the walls you want it in the middle stones to show the stone that’s not got algae on it that it’s still dirty. Start 1.5 stones from the bottom and go up to 2 from the top.
- Where the top bar will be seated, paint a loose triangle down (start of rust)
- If bars are in place, hit most of what you painted black, but not all.


Similar to the last, you are going to make a light coating of milk chocolate over the surfaces you painted in the sluice, and on the bars (not on the walls, leave them bittersweet chocolate). Where covering over rusted areas, try to leave some of the dark brown around the edges.


Dry brush the interior of the sluice with the honey brown. Very very light coat, hopefully only on raised edges.


Light dry brushing of honeycomb over the very tops of the walls. Last two stones worth. Focus mostly on the flat surfaces not the outer edges.


Light drybrush over same area as honeycomb, but this time focusing more on edges.


Do a coat on the bottom 2 bricks of the walls, and the top edges of the sluice. Try to not be neat, algae rarely follows perfectly straight lines.


Of the greens, this is the least important, so you can consider skipping this step if you like. Drybrush over the dark green.


This on the other hand is a fairly important color. It’s got a different hue than the other greens, so it will make the algae texture more interesting to the eye. Drybrush over the same areas.


Drybrush a very light layer of this green on, focusing mostly on edges.


Final coat of rust. Blob this on the rusted areas. As a note, for the piece with bars on from the beginning, I had to redo a fair amount of it before doing this, as it got all greened up.


Bars
Clip 8 (for 2 walls and a sluice, add 2 more per 25mm tile width on your barred sluice if you say used some flooring) lengths of silver PLA. You want it about an inch longer than the model is tall.

Piece by piece you’ll slide one into the top bar and then “rivet” it in.

Riveting consists of using a lighter to heat the tip up and then smashing it on the table to spread the top out.


When all of them are done, it should look something like this.

Slip it into the model slowly. if it’s too tight, you may have to drill out a little room.

Once the pieces are all the way through, it should look like this.

Clip them off so that there’s less than a quarter inch left.

Melt and smash like the top.

Now to add in some “water”. Cover the center pavers with clear nail polish. Ensure it gets into all the cracks around those tiles. It’s also ok to splash a bit here and there.

Fin
